In the spirit of totally losing his shit and wanting to revamp everything, my friend decided that while his coffee table served its purpose, it no longer works in the ultra-chic industrial/rustic haven he’s created for him and his fiancé. Add the fact that I’m obsessed with Pinterest and doing something – at least one damn thing – with pallets, an idea was born.
I went over to his place last week and we walked about 4 blocks (one of which was an avenue block. Ouch.) until we came upon a really nice pallet. Really nice = heaviest bitch of the bunch. Turns out there is a difference between pallets. A serious, back-breaking difference. Always bring a third person willing to swap out the out-of-shape, lazy person for transport purposes.
Since the hardware store was closed (and why wouldn’t it be?) we had no choice but to go to a dollar store on the block and pick up a saw. From the dollar store. See blog title for theme of the day. After dragging it all the way back (minus that last block – we needed to call for backup at that point… whatever), we took it up to his apartment balcony and got to work.
Since we’ve never worked with a pallet before, despite its new-found popularity, we just winged it with our dollar saws. I’ll post pictures of the whole ordeal following this post. This should give you a very straightforward, step-by-step explanation as to what we did.
If for whatever you still feel like reading, here are the written instructions:
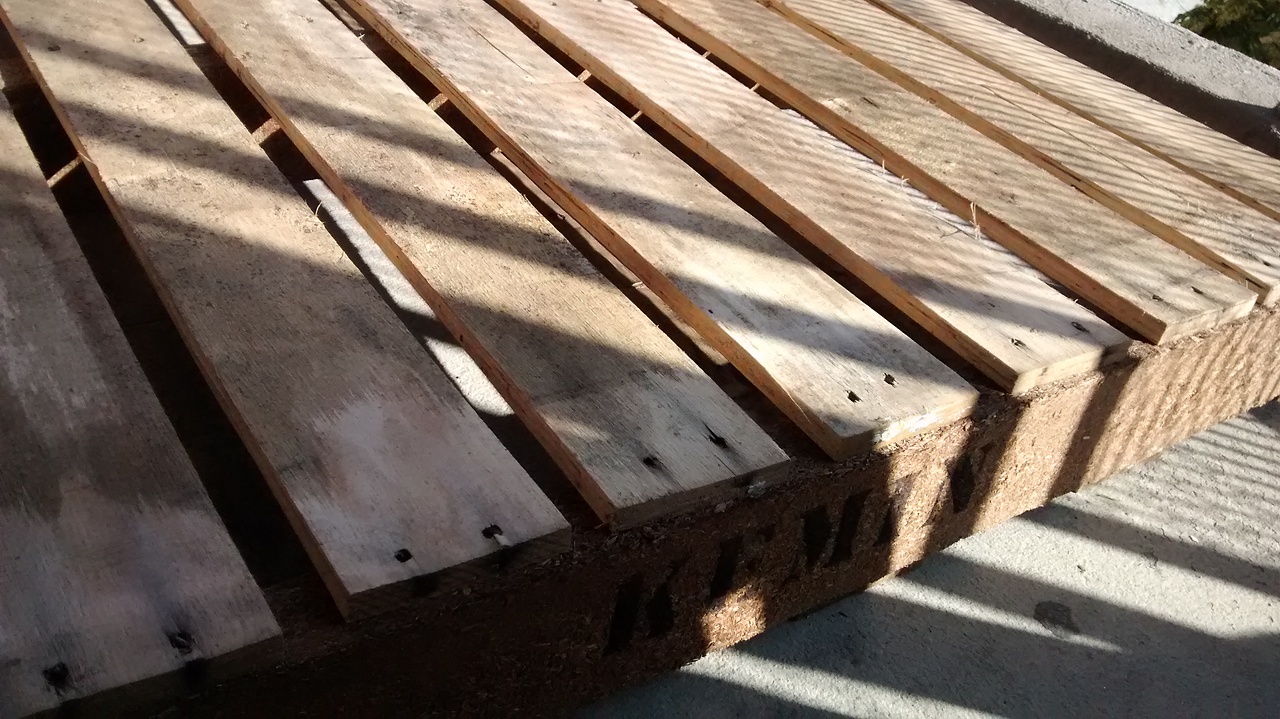
We decided to use the one pallet and cut it in half to stack it and allow for storage in between the levels. In order to do that, we had to cut out the middle plank since those silly bastards have an odd number of planks. If you don’t have the proper/expensive tools to make your life way easier, this is still doable – it’ll just take a bit longer. After hand-sawing through the piece I can tell you that gloves would have been the move because we ended up with a good amount of splinters. Once you’ve successfully not cut yourself and turned it into two somewhat even but nowhere near symmetrical pieces, take a grill brush (again, see blog title) and scrub it to another dimension. We used regular soap and water and at one point figured out that if you use the scraper side of the brush, you end up getting a lot of that nastiness off squeegee style.
Let the pieces dry and then using dollar store L-brackets (cuz you on that Ramen budget) attach the pieces together from the inside. You can also use cool looking hardware on the outside to hold it together and make it look snazzy. We realized that we could secure the piece from the outside afterward so we now have support inside and out. Lastly, we stained the piece, put a clear, protective coating and wheels. If you’re still working with Ramen, you can do an easy coffee stain instead of having to go out and buy some and head out to Ikea for the wheels. They sell plastic ones at $4 for 4 or $10 for 4 metal, more hardcore/sturdy wheels. The whole project can cost less than $15 – less than $5 without wheels or store-bought stain. You just need a couple of hours (literally – it took us almost exactly 2 hours), some work space and a good friend to help. 😉
Suck a big one, Restoration Hardware!